Guide: How to Select a Display for Home-Office Working

In these unusual times the Coronavirus pandemic has led to a massive increase in the number of people working from home. Many will be using small laptop screens to try and get by, but if you’re looking to invest in a desktop monitor to help maximize your productivity and create a better home office environment we thought we would produce this article to try and help. This is our guide on what to look for when trying to select a new home-office display, including the important specs and features you should consider.
Choose a Screen Size
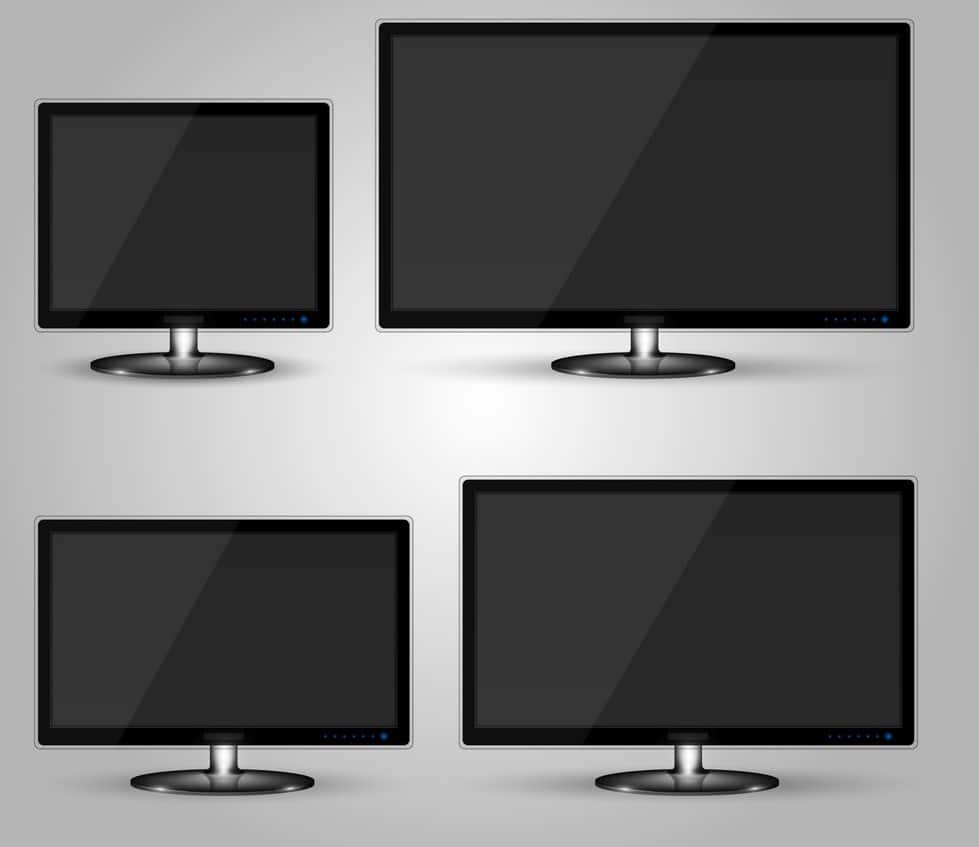
First up you need to consider the size of the screen you want, which will depend on how much space desk, your viewing distance and probably also on what you’re used to. Nowadays we would really recommend looking at something 27″ or above, opening you up to the potential of higher resolutions than the smaller screens (see below) and therefore more desktop real-estate to work with. If you’ve got room for them, a 34 – 35″ ultrawide screen can be very nice for split screen multi-tasking and improving your field of view. If you really don’t have the space for 27″+, go for a 24 – 25″ sized screen but be wary of the resolution options discussed below.
We wouldn’t recommend going much bigger than 34 – 35″ for an office monitor to be honest. The only exception might be if you’re used to using 2x displays in the office in a dual-screen setup, and absolutely need to recreate something like this at home. If so, you may instead want to consider some of the 49″ ultrawide monitors available, giving you the same solution as 2x 27″ screens but in a single mega-wide panel without the border in the middle.
If you’re looking at any of the 34 – 49″ ultrawide models we would recommend one with a curved format as that is more comfortable for these kind of uses and works well on such a wide screen.
Finding the Right Resolution
For office use you want a resolution that provides you as much desktop real-estate room as possible, relative to the screen size but while still keeping text and fonts of a sensible and usable size. You might want to refer to the “pixel pitch” spec for a screen to help you find the right balance between screen size and resolution. Something around 0.233mm pixel pitch we feel is optimal for sharp, crisp images but with a sensible and usable font size.
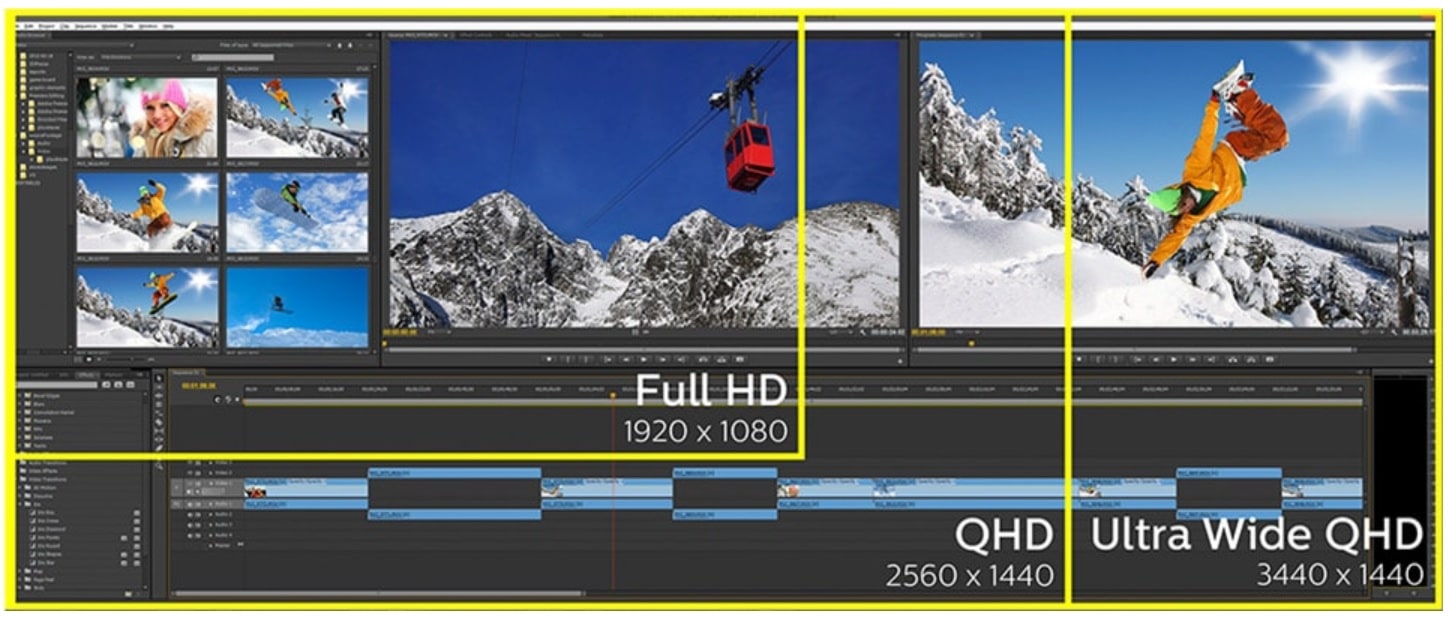
These are the resolutions we would recommend for the suggested screen sizes:
- 24 – 25″ screen = 1920 x 1080 (aka 1080p) – be careful of screens that offer a higher 2560 x 1440 resolution in this space as they tend to be a little too high for the screen size and not as comfortable to work with for most people as a result
- 27″ screen = definitely look for 2560 x 1440 (aka 1440p) – this is a sweet spot and gives you a significant upgrade from 1080p with much more room to work with, especially for side by side split screen working
- 34 – 35″ ultrawide = 3440 x 1440, again a sweet spot and giving you more horizontal space
- 37.5″ (aka 38″) ultrawide = 3840 x 1600 – not as common, but a decent upgrade in desktop space relative to the 34/35″ models
- 49″ ultrawide = 5120 x 1440 – this is a preference over 3840 x 1080 for sure
If you have poorer eye sight, or are using a particularly deep desk where the screen will sit much further away from you, you may want to consider a lower resolution (e.g. 1920 x 1080 on a 27″ model). This won’t give you as much desktop space and fonts and images won’t look as sharp, but it will be easier on the eyes for some with the bigger fonts and text.
You also need to make sure that if you are connecting a work laptop to the screen, it has a suitable graphics card to output your desired resolution properly, and the correct output connection type. You’re going to need DisplayPort / Mini DisplayPort or USB type-C for some of these resolutions in many cases (see below for more info).
What about 4K Resolutions?

Unless you are specifically doing some kind of highly detailed imaging work, or CAD/CAM or something, we wouldn’t recommend going for any “4K” or “Ultra HD” type resolutions here. For instance there are plenty of 27″ screens that offer 3840 x 2160 resolution. Yes, they can make the image look sharper but not to the extent that it’s going to make much difference for day to day home-office work compared with a screen that’s natively 2560 x 1440 resolution.
To use these higher 4K resolutions on a small screen you end up needing to use operating system “scaling” anyway. You can’t just use the extra resolution and expect to just have loads more space. If you do, the fonts and text look tiny and it’s very hard to use. To overcome this you have to enable operating system scaling which makes fonts larger and more sensible but then also reduces your desktop real-estate again. On a 27″ model with 3840 x 2160 resolution you would typically end up using 150% scaling to produce a sensible image. That basically means you reduce the resolution area by 50% and end up with the same desktop real estate as if it were 2560 x 1440 in the first place!
That’s fine of course if you really want, but not all operating systems, applications and software behave well with scaling so it just adds an unnecessary risk to your setup we feel. Some end up with weird sized fonts and graphics and this is particularly problematic on older operating systems. Another thing to consider is again whether your work laptop (if that’s what you’re using to connect to the screen) is capable of even outputting a 4K resolution or not. We’d suggest skipping 4K resolutions for normal home office use to keep things simpler.
Video Interface Connections

If you’re connecting a work laptop to your new display then you are going to be limited by the available video connection outputs on that laptop. Ideally you would have a DisplayPort (DP) or Mini DisplayPort (Mini DP) output which is capable of supporting higher resolutions easily (at 60Hz). It doesn’t matter if the connection is a normal DP type, or a Mini DP type, as the two are interchangeable and cables offering one end as Mini and the other as normal DP are readily and cheaply available. On the monitor side a standard DisplayPort connection is far more common and the most widely offered connection type right now, so if your laptop has a Mini DP output, you will need a Mini DP > DP cable.
If your laptop only has HDMI you may be more restricted, depending on whether that’s an older HDMI 1.4 connection or a newer HDMI 2.0. If it’s v1.4 output then 1920 x 1080 @ 60Hz will be fine and so the smaller 24 – 25″ sized screens should be ok. Some screens in the larger size like 27″ will allow 2560 x 1440 @ 60Hz over HDMI 1.4 but you may have to create custom resolutions from your laptop (if supported and you have access to do so!) or otherwise fiddle around to get it working. This might be a bit hit and miss so is probably a bit risky. If you only have an HDMI 1.4 output on your laptop and nothing else, we’d suggest sticking with a 1920 x 1080 resolution screen and therefore probably a smaller 24 – 25″ sized model.
If you have an HDMI 2.0 output on your laptop, and the monitor also has an HDMI 2.0 connection, then you should be fine to run up to even the 5120 x 1440 resolution @ 60Hz if you want.

More recent laptops may also feature a USB type-C connection output. You will find some modern displays that feature this as well as an input option, so if you’re looking for the benefits of a single connection from laptop to screen and the option to do fancier things like use the monitor as a docking station for accessories like a keyboard, mouse, web camera etc or to power your laptop then this would be a very good option. If you don’t need all those additional options, but want to use the USB type-C output on your laptop to connect to a monitor, then USB type-C > DisplayPort cables are available too. The USB-type C connection is capable of supporting the higher resolutions like DP would.
Finding the Right Panel Type

Nowadays the panel technology used in a monitor should be listed on product spec pages. For home office and day to day work we would recommend looking for an IPS technology panel. This will give you the best overall image quality for these uses, including good colours and wide viewing angles that help minimize contrast and colour shifts when viewed from different positions.
VA panel technology is also viable although has more limited viewing angles, particularly when viewing dark content from head-on where some detail can get “crushed” and lost. TN Film should definitely be avoided as a panel technology for office work as that’s more aimed at gaming screens.
Do I Need to Worry About Refresh Rate?

For office work, no 60Hz will be perfectly fine! Although we expect there might be some people who are looking for a display that can be used by day for home-working, but by night maybe keep them entertained with use with their games console or PC.
If you are wanting to plug in a games console to the screen, many of those will operate at 60Hz maximum anyway and that will generally be perfectly fine for those uses. You can just stick with a 60Hz screen then easily enough. Some of the most modern games consoles can support higher refresh rates and things like ‘adaptive-sync’ (variable refresh rates) in which case you might want to consider a display that can support something a bit higher in the 100 – 144Hz kind of range.
If you are looking to do PC gaming then a higher refresh rate will definitely offer big benefits in terms of motion clarity and gaming experience. Even if your work laptop is limited to 60Hz that’s fine, you can still then plug in a different PC and run at higher refresh rates if the monitor supports it.
Be Careful with the Colour Gamut
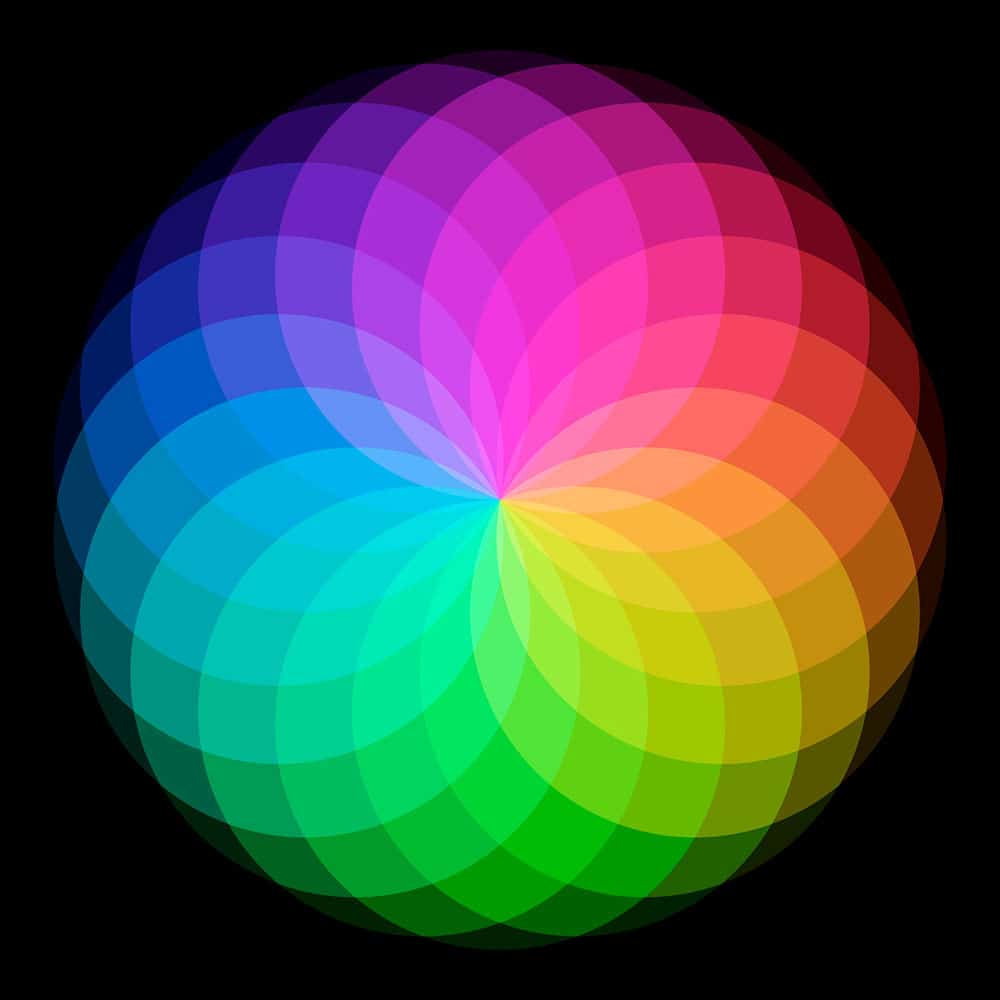
One thing to be careful of is the colour gamut (colour space) of the monitor you select. Many work laptops will be based on the common and widely used standard sRGB colour space, which will then tend to be uniform across other people in your company. Meaning everyone is working to the same colour space and when you look at a document or image on one laptop, it should look the same as on another. sRGB is the most widely used colour space and the standard for resources like the internet as well, so most people are used to using a display for their work which is based on this same common colour space.
The colour gamut that a monitor is capable of displaying is impacted by it’s backlight type. There are plenty of monitors available that are based on a backlight that offers an sRGB gamut and so those would probably be the most logical option if you’re looking for a sensible home-office display and something that also looks like your laptop (assuming you’ve got a standard sRGB gamut laptop that is).
Many modern monitors will nowadays offer wider colour gamuts though which are designed to offer a more vivid and colourful image. This is often preferred for gaming and multimedia screens, particularly on those designed to help support modern HDR content. It’s also often useful for more professional and colour critical displays where users might specifically want to work with content created in a wider colour gamut and matching their cameras, printers etc.
Look out for screens that talk about “DCI-P3” colour spaces with high coverage figures like 90%+, or those with “Adobe RGB” colour space. Those are clear indications that the screen is based on a wide colour gamut backlight. Unless you are specifically looking for a wide colour gamut for something, we would probably recommend avoiding these wide gamut screens for your home-office and instead selecting a standard sRGB gamut screen.
Some wide gamut displays do also include “sRGB emulation” modes which allow you to have the best of both worlds, but you’re adding in an unnecessary complication selecting on of those – and the sRGB modes are not always very well set up or usable in practice we’ve found.
Look for Flicker Free Screens
One thing we would 100% recommend looking out for is a screen that is specifically advertised (and ideally independently verified by reviews) as being “flicker free”. This relates to how the monitor’s backlight is dimmed and controlled during use and flicker free operation replaces a common older method called “Pulse Width Modulation” (PWM). Being flicker free will ensure the screen is usable for long periods of time without eye-strain, headaches or other issues that old PWM methods often caused. If “flicker free” is not listed in the monitor’s features or has been confirmed elsewhere through testing, we would avoid that screen!
Consider Low Blue Light modes
Another “eye care” consideration is blue light. Without going in to loads of detail the output form modern LED backlit monitors has a high level of blue light which has been identified in some research as a risk to long-term comfort and eye health. Many modern monitors will feature advertised “low blue light” modes and settings which are designed to help reduce this blue light output somewhat.

This is particularly important later on in the day as you get nearer to bed time, as blue light output can interfere with sleep patterns as well. It is often recommended to switch to a “warmer” screen appearance where blue light has been reduced in the evening to help avoid issues. You will see this for instance in modern Apple IOS controls that make your iPhone/iPad a little warmer in the evening using the ‘Night shift’ feature.
If this is important to you or you like easy access perhaps to switch to warmer and lower blue light options in the evening then look out for displays with low blue light modes and settings.
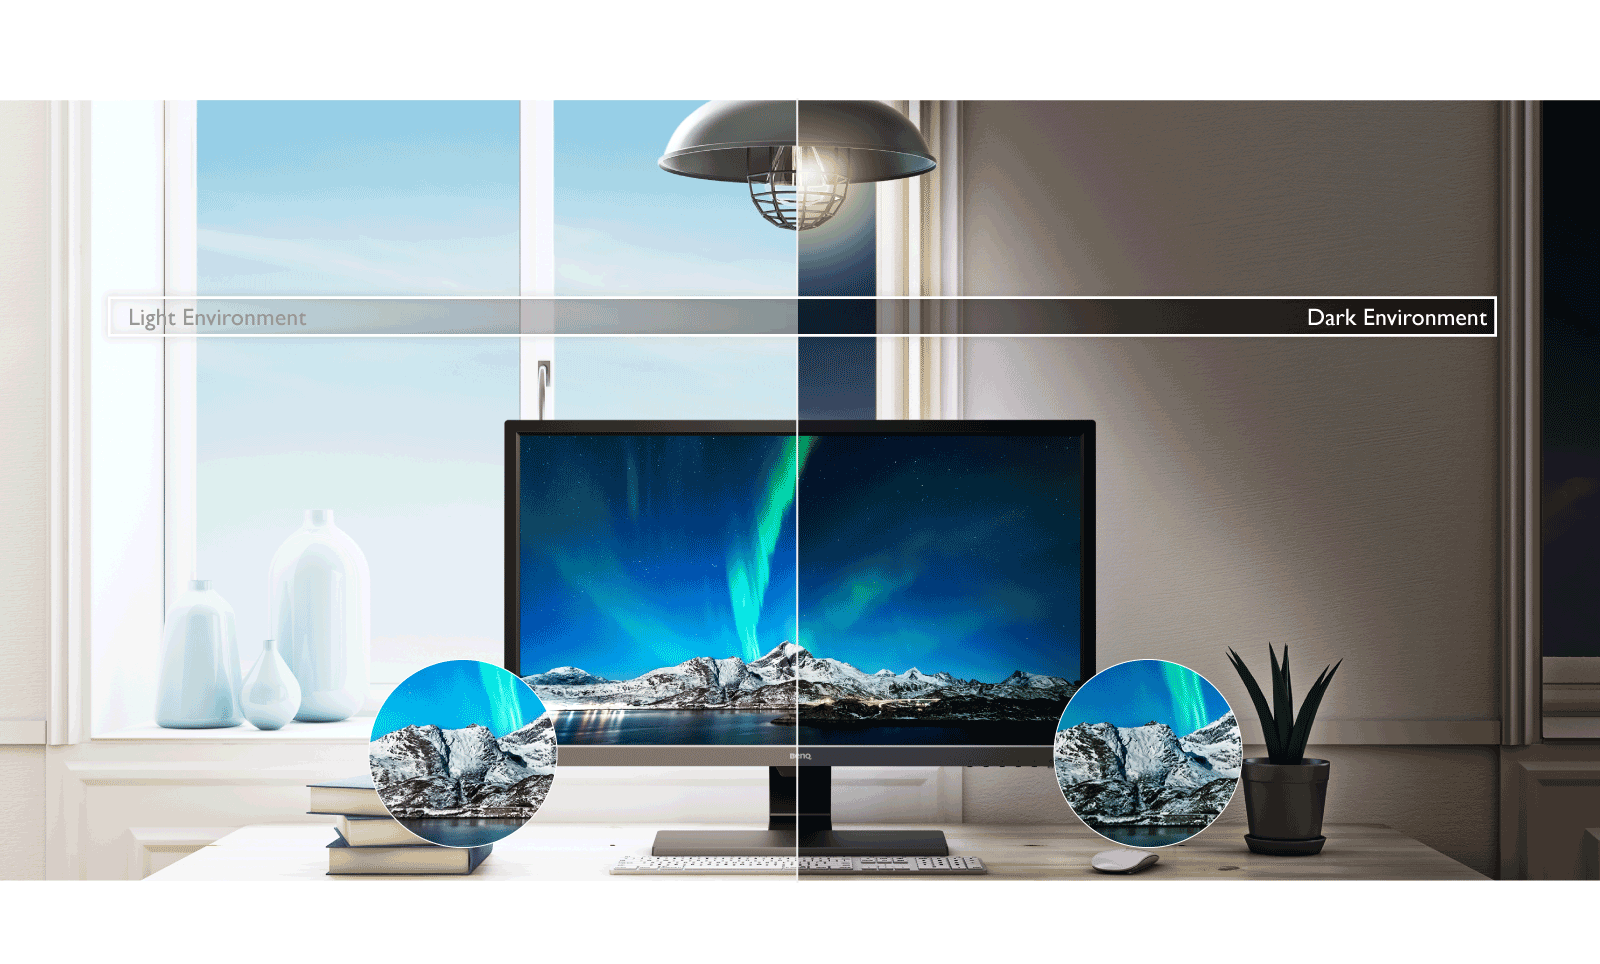
Brightness Adjustment Range

One area that might be a little more tricky to check is a monitor’s brightness adjustment range. Manufacturers will always list the maximum brightness of a display (commonly 250, 300, 350 cd/m2 kind of range) but will rarely list the minimum adjustment level. If you are working in darker room conditions, particularly at night, you may want to be able to adjust the brightness down to a much lower and more comfortable level.
Third party independent reviews will often test the minimum brightness range so you can hopefully find a screen that features a low enough adjustment. If you can’t find a review where this is tested, we would probably recommend looking at a screen that has a max brightness more on the lower end. For example maybe one with 250 cd/m2 max as opposed to one with 500 cd/m2 max. That is likely to give you more flexibility at the lower end – and you probably aren’t going to need those higher brightness levels anyway for office type work. They are more aimed at gaming and multimedia from further viewing distances.
Choosing additional features You Might Find Useful
There’s a wide range of additional features you may want to look out for from a new office monitor. These probably won’t make or break the decision, but can certainly be useful in many situations. Some things to consider would be:
- Stand ergonomic adjustments – every screen should at least have a basic tilt adjustment, but height adjustment would also be recommended as a minimum for comfortable office use we would say.
- USB ports – many screens will feature USB ports for easy connectivity of USB sticks, accessories etc. You may even want to connect things like a keyboard and mouse to the screen via USB and use that as a “hub” so you can quickly and easily remove your laptop if you want to go and work in the garden for a bit! This makes life easier than connecting everything directly to the laptop and having to unplug them all every time you disconnect. It might also help get around often limited number of USB ports on the laptop itself. Look out for some screens that also feature USB ports with fast charging capability if you want to charge compatible devices quickly and efficiently when plugged in to the monitor.
- Integrated speakers – some video connections allow you to send sound from the laptop as well as the video input (might vary by laptop connection option). If so, you might want a screen that has built in speakers for more capable sound playback than the often very small and limited speakers built in to your laptop. This might be useful for putting conference calls on speaker or if you are needing to play back audio/videos now that you can also probably avoid the normal use of headphones that you’d have previously had to use in the office.
- Audio connections – some screens have a headphone output as well which can be handy if you did also want to connect headphones up for audio playback, but again using the screen as the “hub” for all these cables and connections. Likewise with a mic input that some screens feature and which may be useful if you are doing conference calls from home.
- Human motion sensor – not that common, but some screens feature a motion sensor built in to the front which will switch the screen to standby when you’re away. This might help you conserve power while you’re away from your desk or taking your daily government-approved exercise. Especially as all this usage is now on your personal home electricity bill!
- Ambient light sensor – similarly some screens feature a small sensor built in to the front of the screen that detects your room ambient lighting and adjusts the backlight brightness accordingly (and on some screens the colours too). This can be a useful feature if you find yourself working at different hours and in different light conditions regularly.
- Web-cam – some screens even feature a built in web-cam which may be useful if you are doing a lot of video calls from home and will now be looking at your new monitor instead of at the laptop, which may well now be closed while you use your desktop setup.
We hope you’ve found this guide useful to help you find a suitable monitor for your home office. It’s hard to provide recommendations of particular displays but most manufacturers have a home or office lineup that would be a good place to start. At least hopefully you now know which things to look out for.
News alerts and more – follow us on Twitter
Subscribe to our News RSS feed