
MSI’s Gaming Intelligence Software Explored
Disclaimer: this article includes sponsored promotion by MSI, but all content, opinions and commentary are our own.
Introduction
Most modern monitors provide a huge range of settings and options in the menu, but it’s not always convenient or easy to scroll through this menu when you want to make a change or activate something. This is especially true when you are using your monitor for different things, whether that’s office and professional applications, gaming or movies. Having an easy way to switch between modes and configurations makes life a lot easier, and in today’s world where everything seems to be labelled as “AI”, it’s also useful if things can be controlled intelligently for you as your daily usage changes, even if it’s not strictly using A.I per-se.
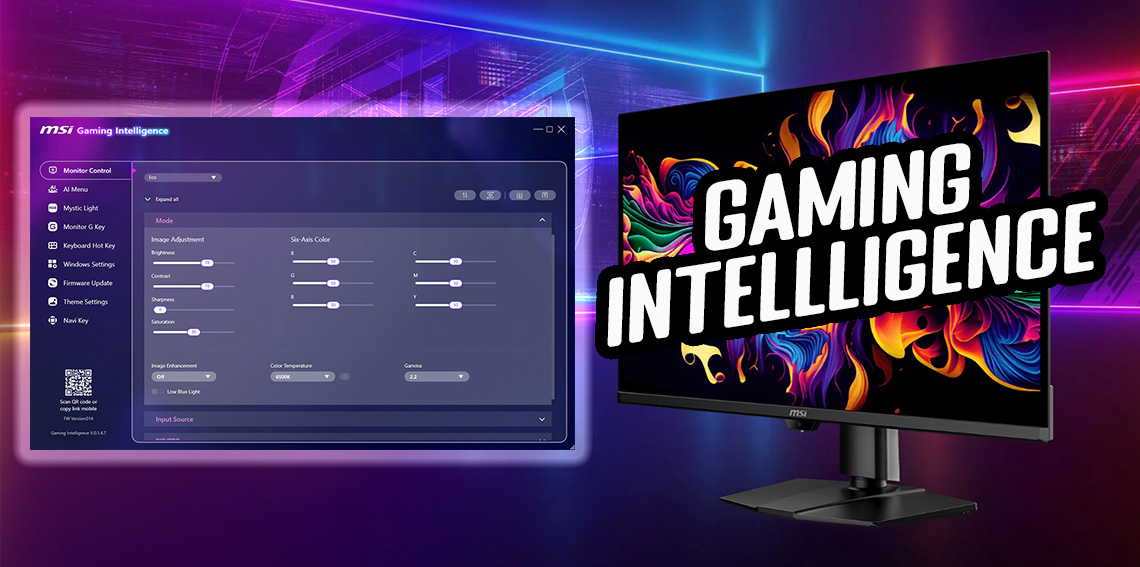
MSI offer a software app called ‘Gaming Intelligence‘ (also herein G.I.) which allows quick and easy control over your MSI monitor, along with various advanced configurations and features that could make your life easier. Despite the name, it’s not only for gaming settings, it can pretty much control every setting available in the monitors on-screen menu and allows configuration for all monitor uses.
We’ve used this software a fair few times in the past when we’ve reviewed MSI monitors, but we thought it would be useful to take a deep dive look at what it can offer and test it out a bit more.

Which models support the Gaming Intelligence software?
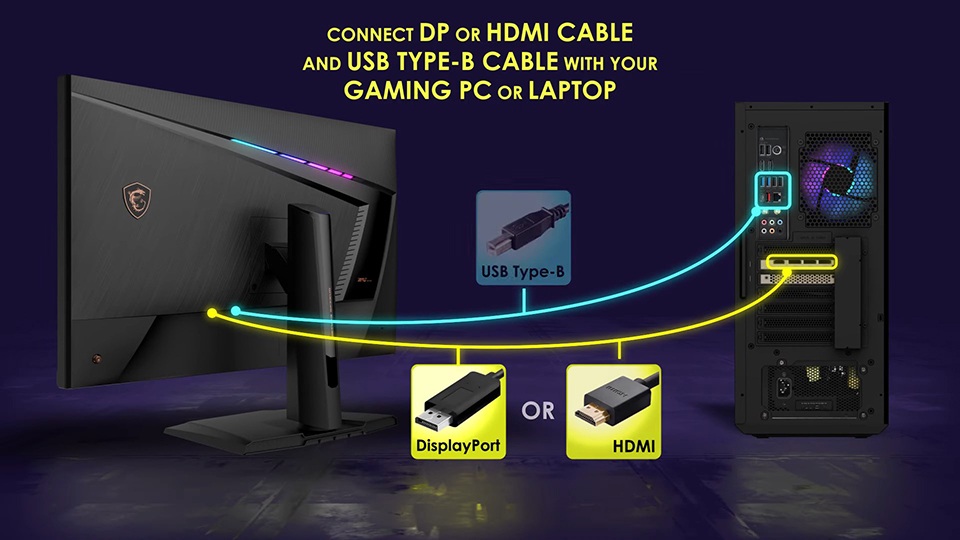
To run the Gaming Intelligence software (or alternative versions discussed below) you need to connect your PC up to the monitor using a USB connection. Usually that would be using the USB-B upstream port on the monitor, to connect back to USB-A on the PC. If your monitor and PC support USB-C, you can also use that if it’s easier.
The Gaming Intelligence software is supported across several MSI ranges, but not all of them. It is supported for their MEG and MPG series models, but not the MAG series – those lack the necessary USB upstream connection and it’s one of the feature differences between the MAG and MPG range. The G series screens do not have USB connections either and so do not support the software.
| Screen series | Software app supported |
| MEG |  |
| MPG | |
| MAG |  |
| G | |
| PRO MAX | ‘Productivity Intelligence’ app |
| PRO | ‘Display Kit’ app |
| Modern | ‘Productivity Intelligence’ app |
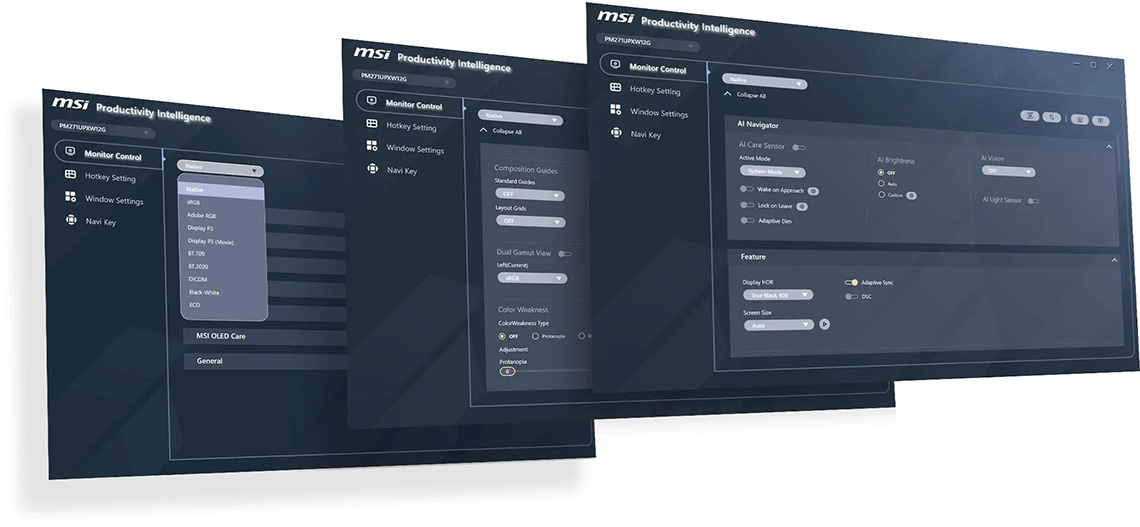
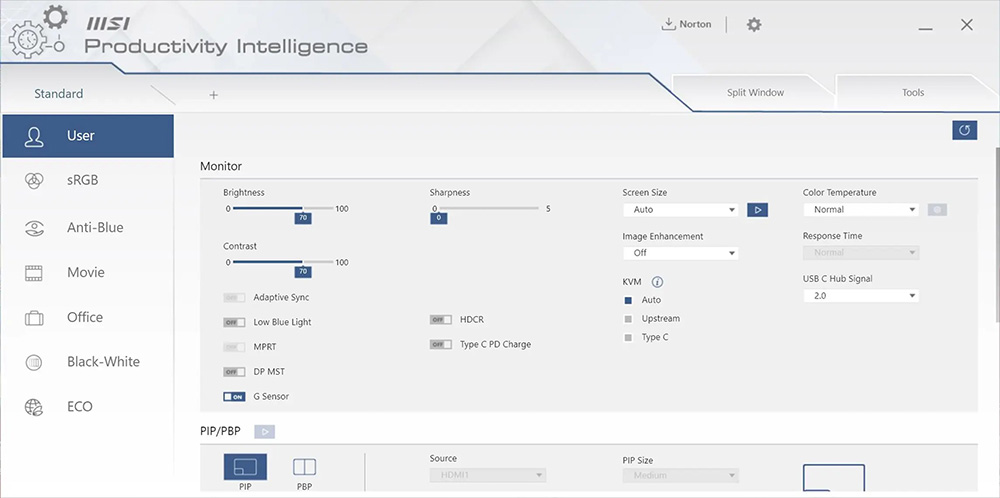
The PRO MAX and Modern series have a similar app called “Productivity Intelligence”, basically a re-branded version of G.I. given the target market for those screens. Settings and controls are aligned to those available on the PRO MAX / Modern models.
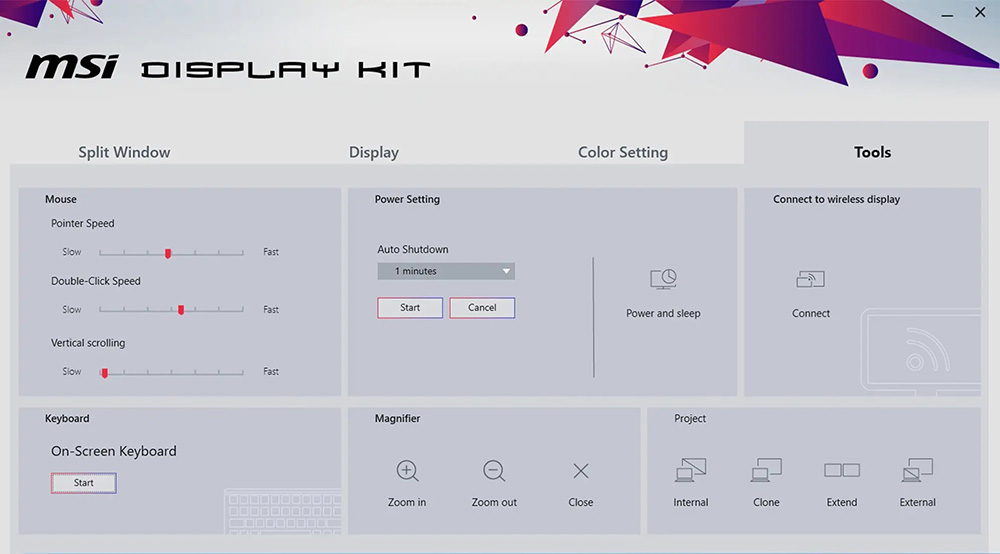
Some of the regular PRO series screens have a trimmed down version of the app called ‘Display Kit’ which offers some control, although those screens in that range generally have fewer overall settings anyway. The software allows you to configure and control those models from your PC if needed.
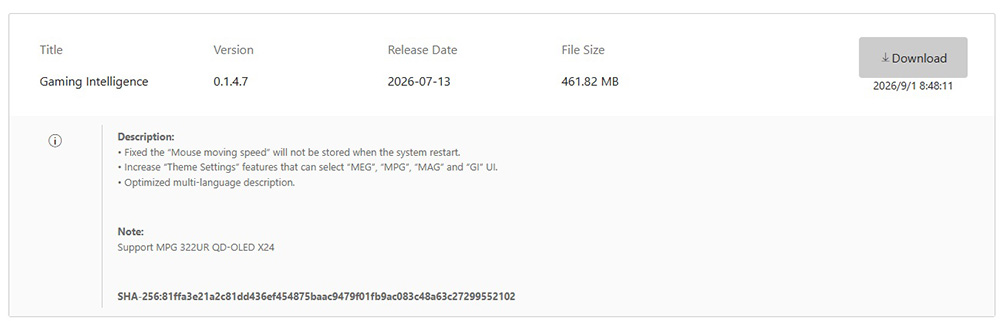
You can download the latest version of G.I. (or alternative software if it’s for a different range) from the MSI support page for your monitor. Download and install it and it will run in your system tray and auto-detect connected and compatible monitors.
Useful additional features you won’t find in the OSD menu
Beyond controlling pretty much all the settings you can find in the OSD menu, the Gaming Intelligence app offers you various additional functions that might be useful to you:
- AI menu – auto load settings, presets and configurations depending on the app or game you’re using. This is really useful for switching setting combinations quickly and easily for different uses rather than having to manually configure everything each time [Jump to relevant section]
- Keyboard shortcuts – very quick and easy access to key setting changes, such as brightness control or gaming extras without needing to use the monitor menu or even the G.I. software [Jump to relevant section]
- Firmware updates – you can carry out firmware updates for your monitors easily via the dedicated section in the software [Jump to relevant section]
- Integrated Windows settings – integrated control over mouse, keyboard and power settings for your Windows OS, as well as split screen multi-tasking and window control. [Jump to relevant section]
Gaming Intelligence software explored
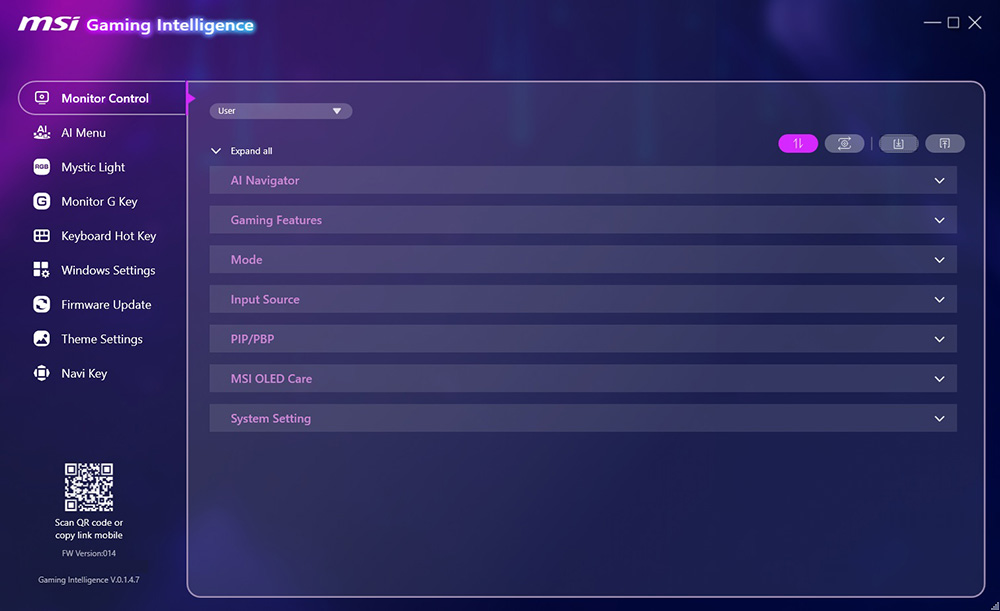
The software is split in to several sections down the left hand side. Most of the settings that you’d find in the monitor OSD menu are within the ‘monitor control’ section, with the other parts of the software used for some more advanced features and useful extras.
You can expand each of the sections in the monitor control section to reveal the available settings and for the most recent monitors, there’s loads of options available. We’re using the MSI MPG 341CQR X36 for these tests, so options may vary depending on the model you have. When you make a setting change there’s a very short lag while the setting is activated, but it’s generally nice and responsive at sending changes to the monitor.
Main monitor settings control
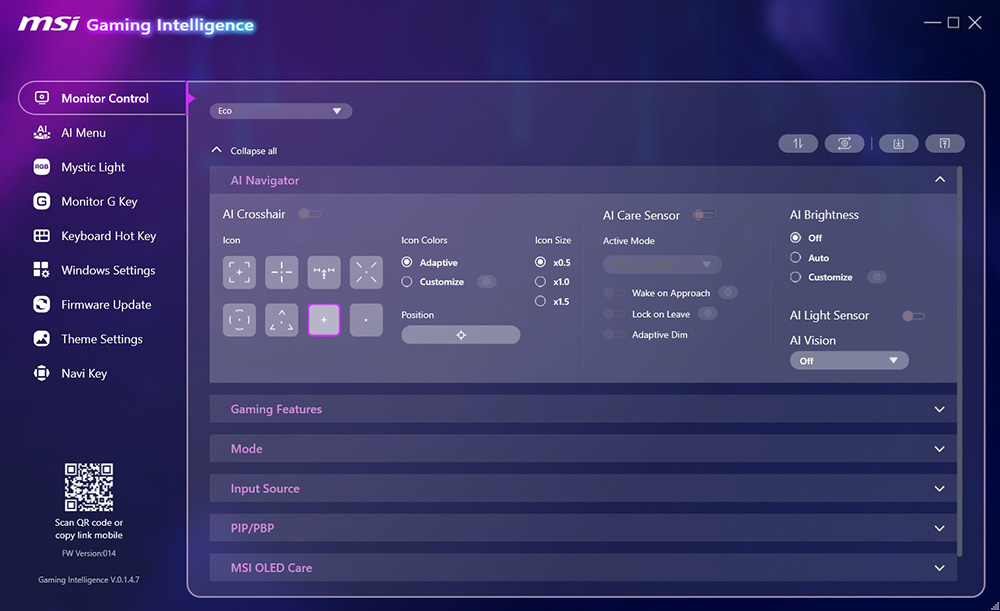
The AI Navigator section allows you to control the AI Crosshair gaming feature, but also (where included on your monitor), the AI Care Sensor. You can activate all the relevant settings for the care sensor here which is useful. Note that if the Care Sensor detects you move away and activates the ‘lock on leave’ feature, the screen is actually fully turned off and so the sync between monitor and G.I. software is lost until it comes back on again, at which point the software re-detects it after a few seconds.
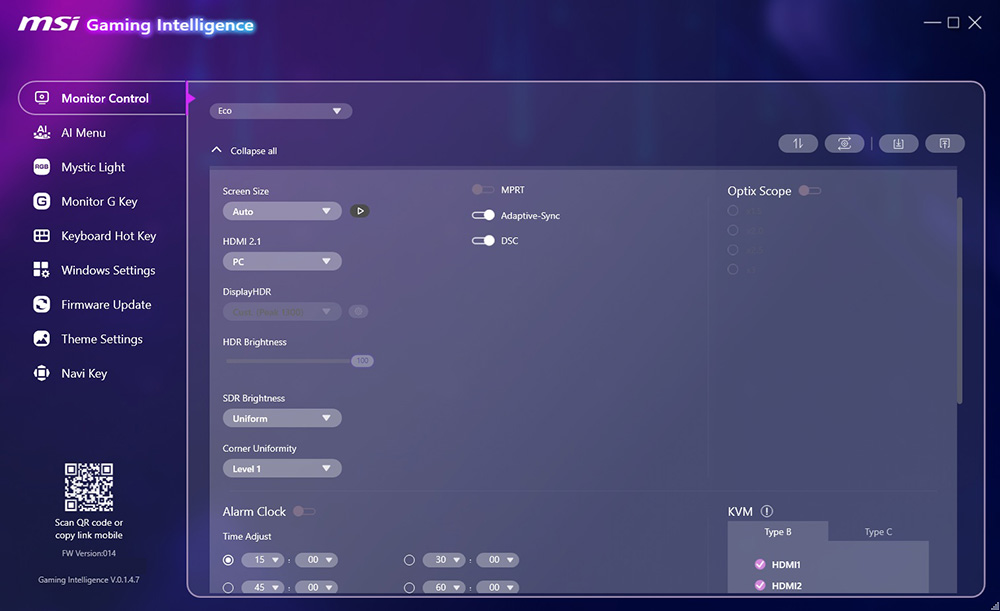
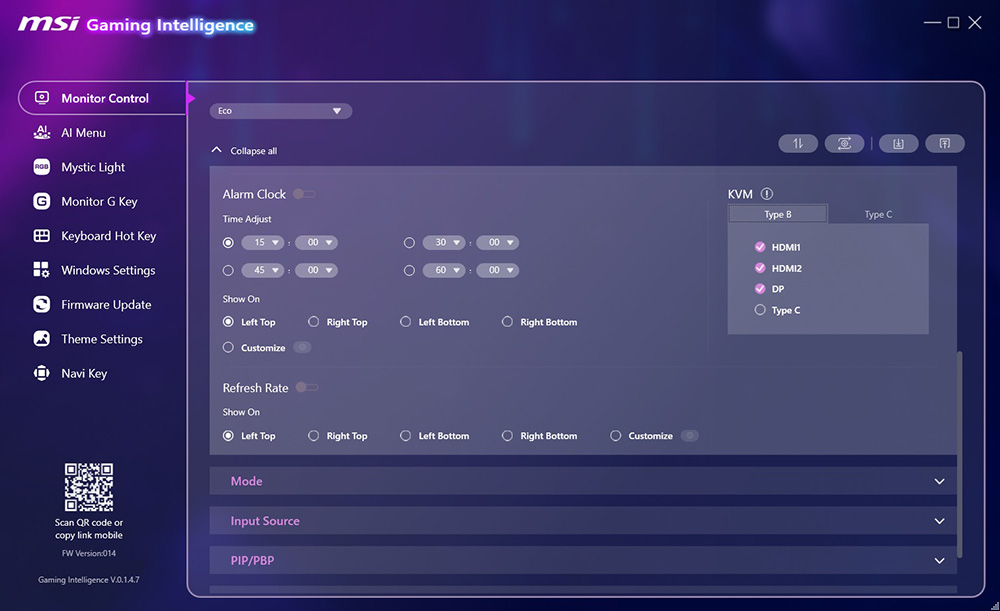
The ‘Gaming Features’ section offers control over a lot of settings, not actually all specific to gaming – they’re in this section in the main OSD menu as well, so that’s repeated here in the software. You can control things like adaptive-sync, HDMI 2.1 mode (PC or Console), and extras like the alarm clock and refresh rate / FPS counter here.
There’s also control over the MPRT blur reduction mode, which hasn’t yet been renamed in the software to the new ‘SLMB’ (Super Low Motion Blur) naming convention, although that has been updated in the main OSD menu on many recent models. Note also that the newly added ‘OLED Anti Flicker’ setting has not been added to the software yet, but we’re sure it will be soon. That’s the only setting we spotted that was in the OSD menu for the MPG 341CQR X36 on the latest firmware, but not in the G.I. software.
You’ll note also that you can change the HDR mode here once HDR is activated in Windows (there’s no switch in the software to enable/disable Windows HDR though). You can also change the SDR brightness behaviour between uniform and dynamic, and control the recently added ‘corner uniformity’ setting – which would probably sit better in the OLED care section really, but this is where it is right now.
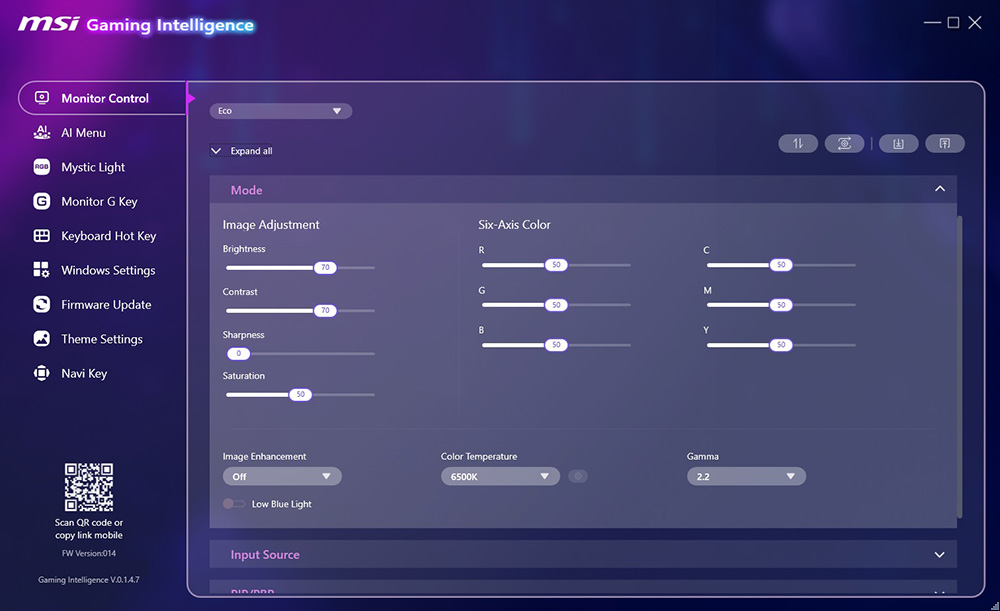
The ‘mode’ menu is where you’ll find the typical monitor controls for brightness, contrast, colours etc. You can switch the active preset mode using the drop down at the top, currently set in the default ECO mode for these screenshots.
We should also say at this stage that you can easily export and import your settings from the software using the buttons at the top of this section if needed.
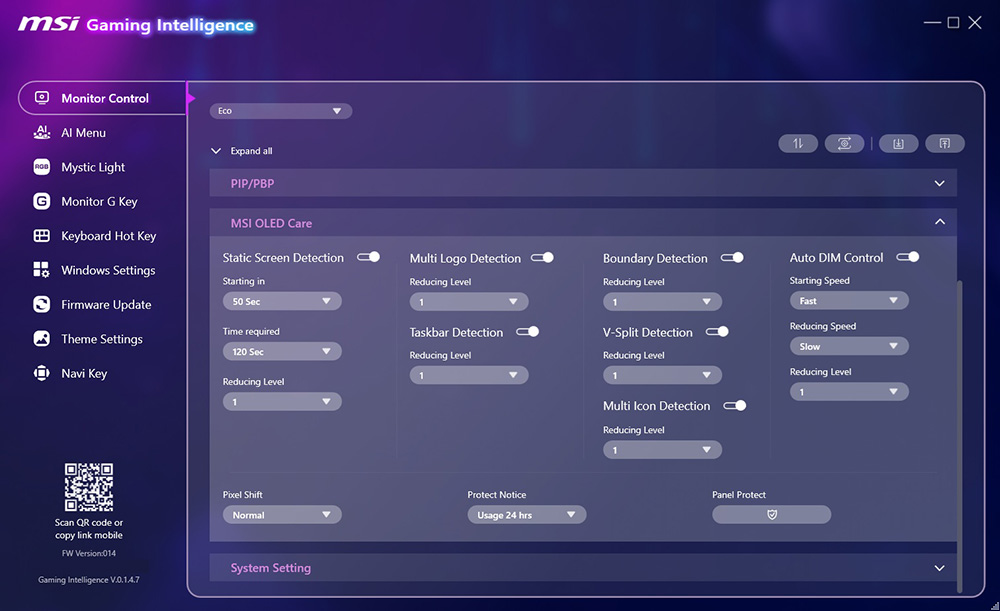
The OLED Care menu is available on OLED models and allows you to quickly and easily configure all of these various settings, turning them on and off and controlling their activation level where available. You’ll probably only need to do this once, but it’s easier than using the main menu probably.
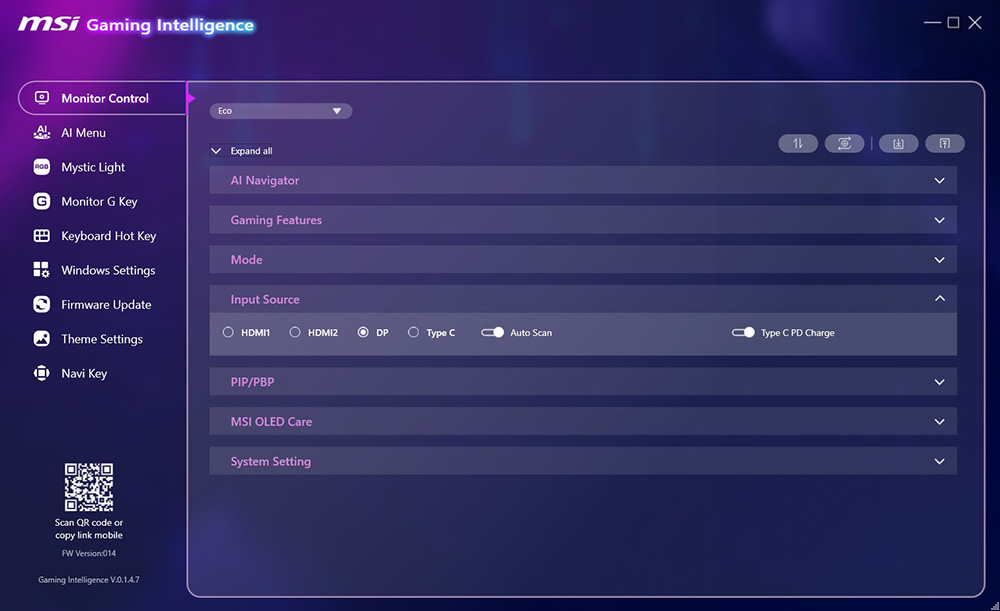
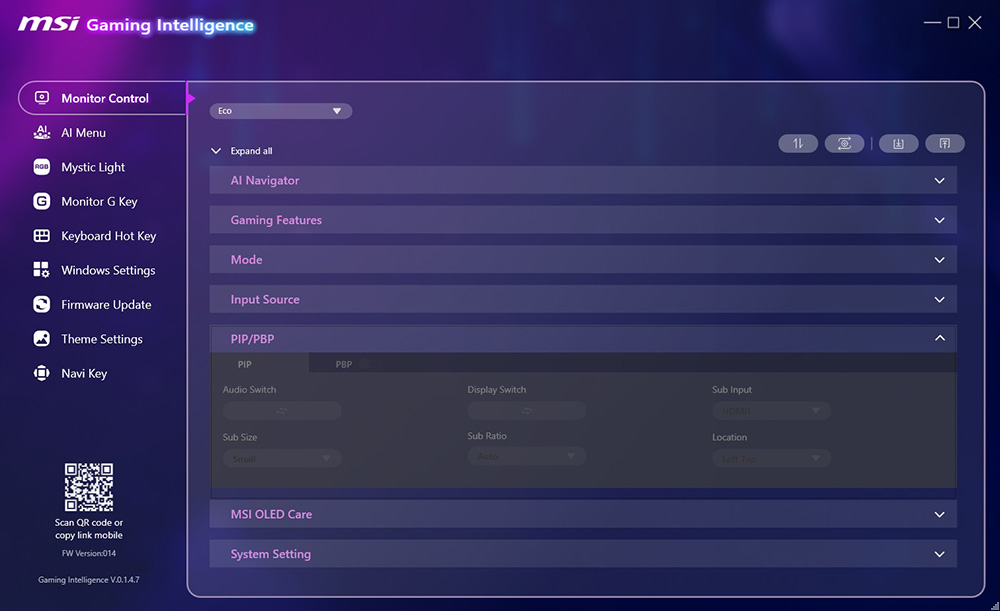
The input source menu lets you control your active input device if needed, while the PiP / PbP menu controls the configuration of that feature where it’s supported, and should you have multiple inputs connected to the screen.
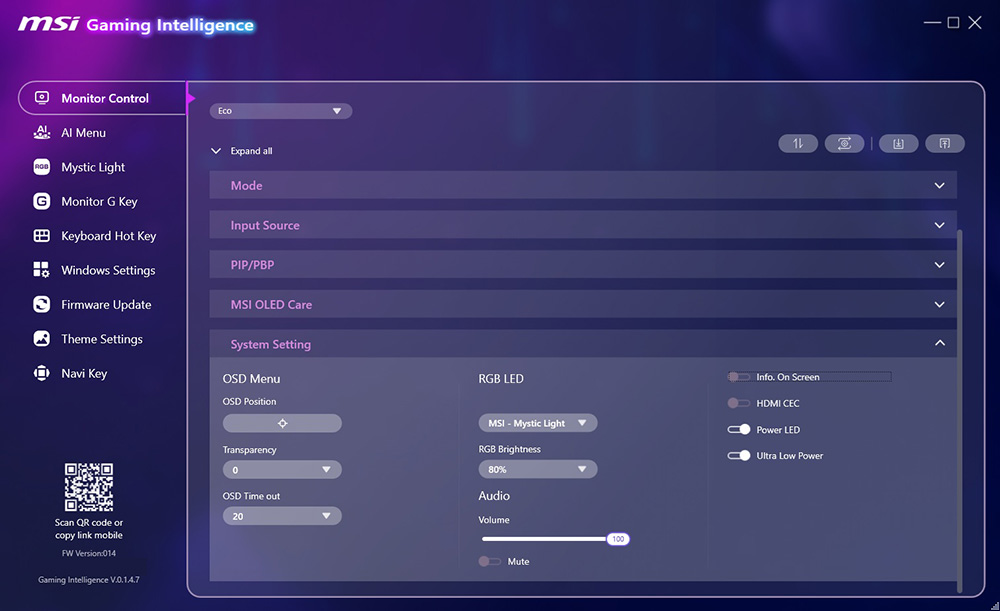
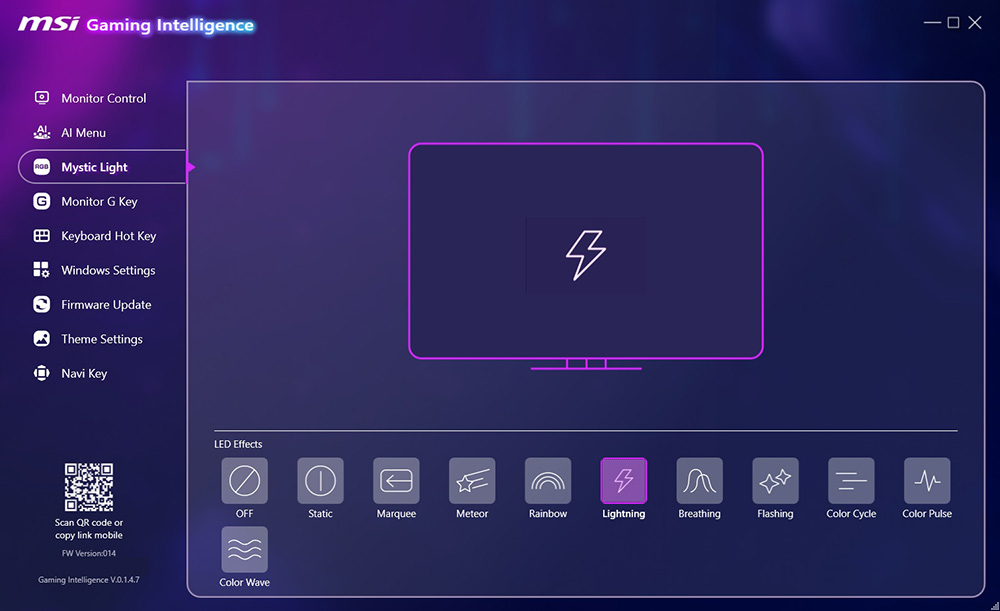
The ‘system settings’ menu lets you adjust some additional settings related to the OSD menu itself, along with useful extras like the HDMI-CEC control and power LED, and also the RGB lighting feature of the monitor. The Mystic Light feature gets its own sub-section of the main menu on the left, for further control of that feature.
AI Menu – auto adjust your settings for different apps and content
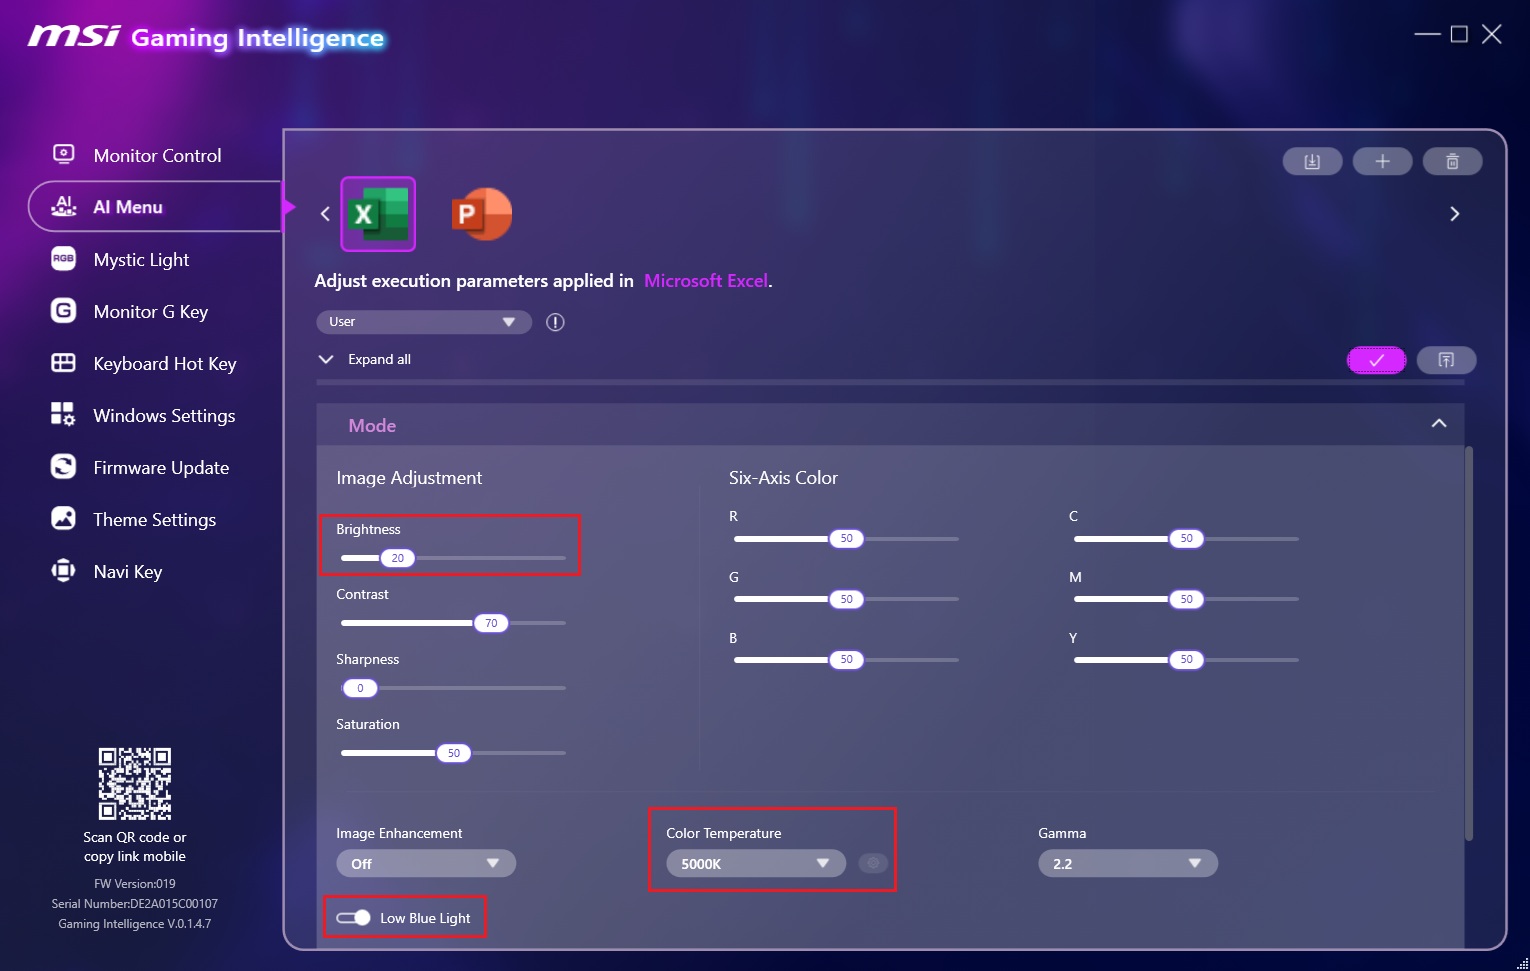
One feature you cannot control from the main OSD menu is an “AI” feature which links your apps and games to different configurations within the software. You can simply add the app you want to be associated to a profile, and then configure loads of the ‘monitor control’ settings for that app. When the app (or game if you’ve used that) is loaded, the monitor auto-switches to the relevant configuration you’ve preset.
So for example in our configuration above we’ve set it so that when we launch MS Excel, the screen will switch to a lower brightness, turn low blue light mode on and switch to a warmer colour temperature for more comfortable viewing. That’s just an example, you can configure these however you like for the different apps you use.
You can configure most of the settings we’ve discussed earlier, so for a game maybe you’d want it to switch to a brighter mode, one of the gaming presets, or enable the MPRT function, crosshair or FPS counter perhaps. Super-easy once you’ve configured the combinations here and it seemed to work well during our testing to switch between different apps.
Configure the monitor shortcut buttons
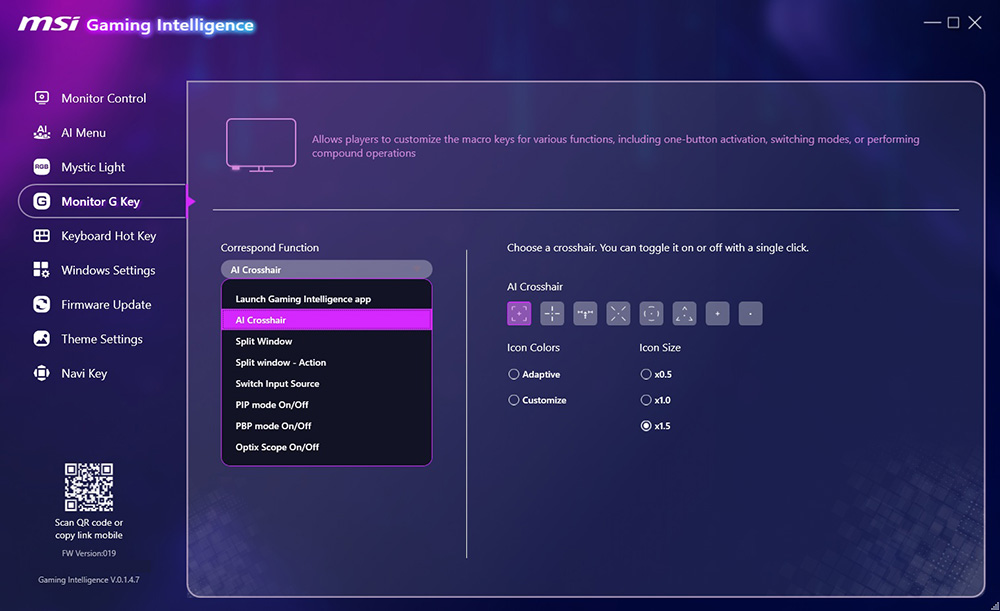
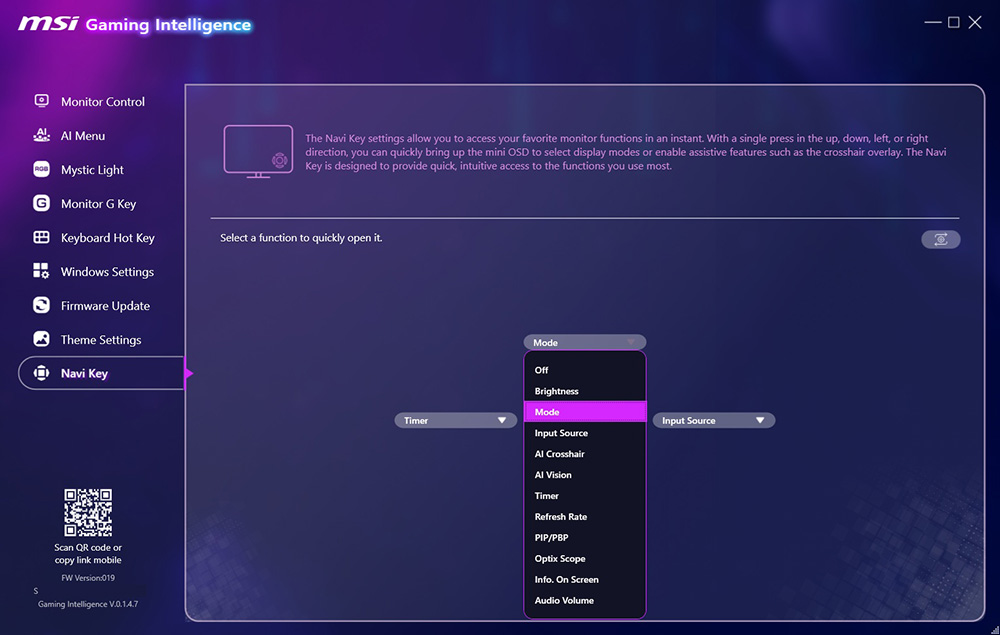
You can customise what some of the shortcut buttons on the actual monitor do as well. The ‘Monitor G Key’ lets you customise the macro button on the screen, if there is one. Giving you single click access to various settings as shown.
You can also customise the navigation joystick shortcuts, so when you press one of the directions you can quickly and easily control the settings you need most often. That’s especially useful for things like brightness control or gaming extras we find, which you might want to access quickly sometimes via the screen itself.
Keyboard hot keys for even quicker control
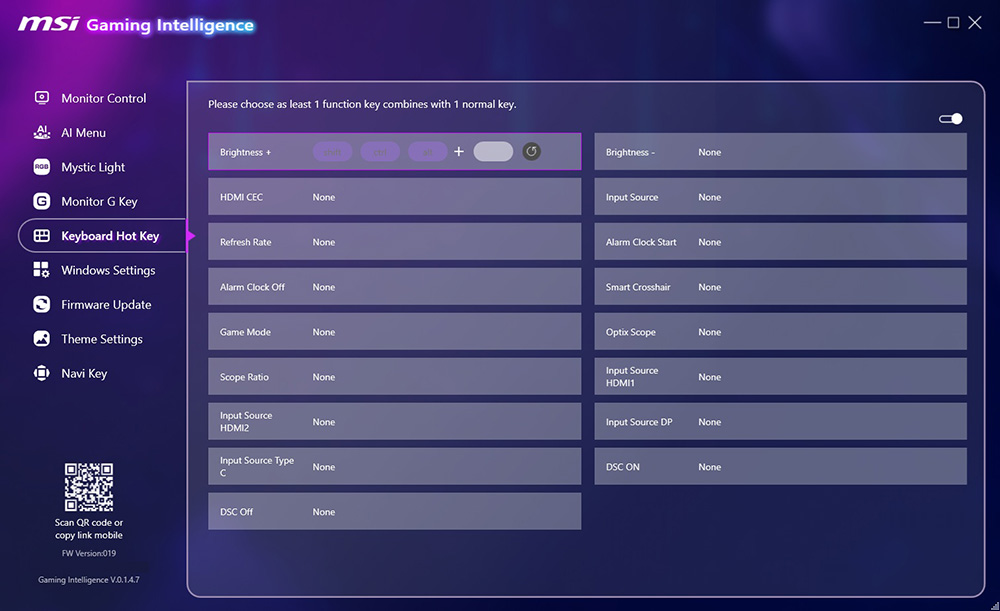
Another feature not available from the monitor menu is keyboard shortcuts. Here you can configure different button combinations to trigger different common settings. That could be useful for some people for very quick changes, even without needing to use the monitor shortcut keys, or open the G.I. software app. These seemed to work well during our testing.
Firmware updates
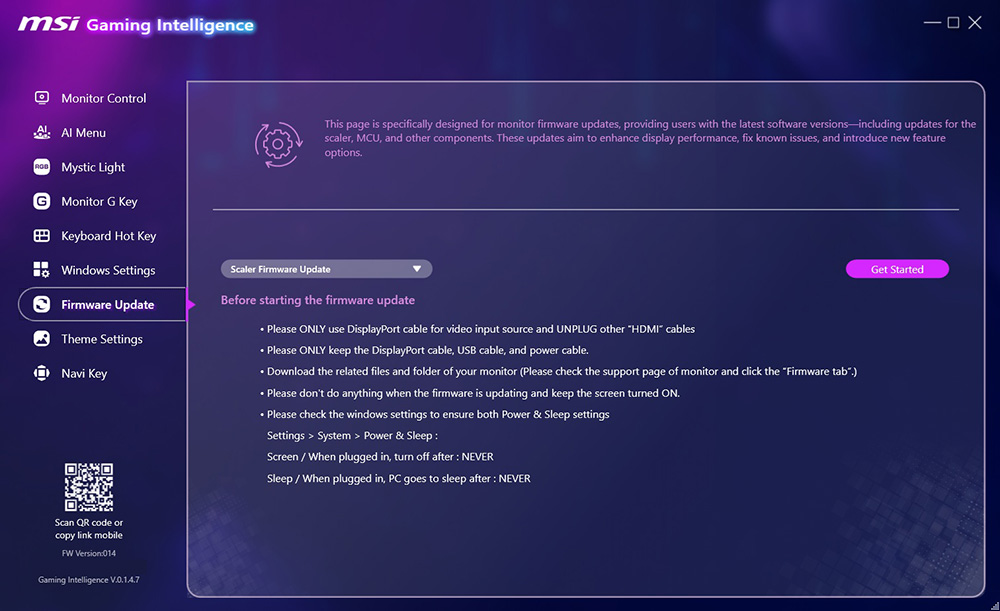
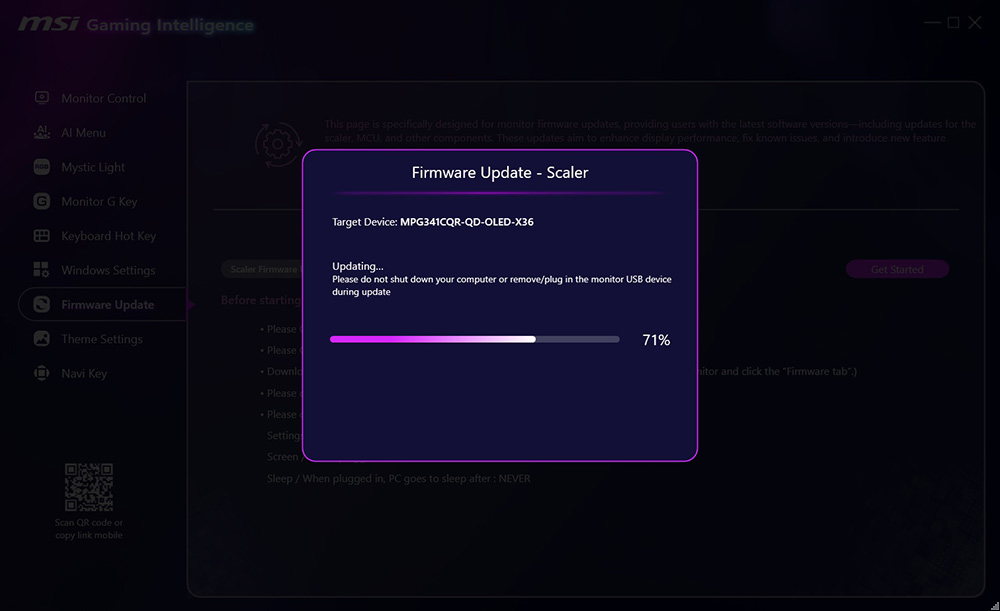
One particularly useful feature from the G.I. app is the ability to perform firmware updates for your monitor. One gap is that you still have to go to the monitor support page, find the latest FW and download it to your PC. Once you have, it’s easy to select it in the software and start the automated process. It would just be useful if the software was capable of detecting your FW, finding the latest for you and downloading it automatically for you without you needing to search for it or check if a new one is available. FW update notifications would also be useful here. Maybe a change for the future.
The whole process is easy though and your current FW is listed in the bottom left of the software so you can see what version you’re on easily.
Windows settings
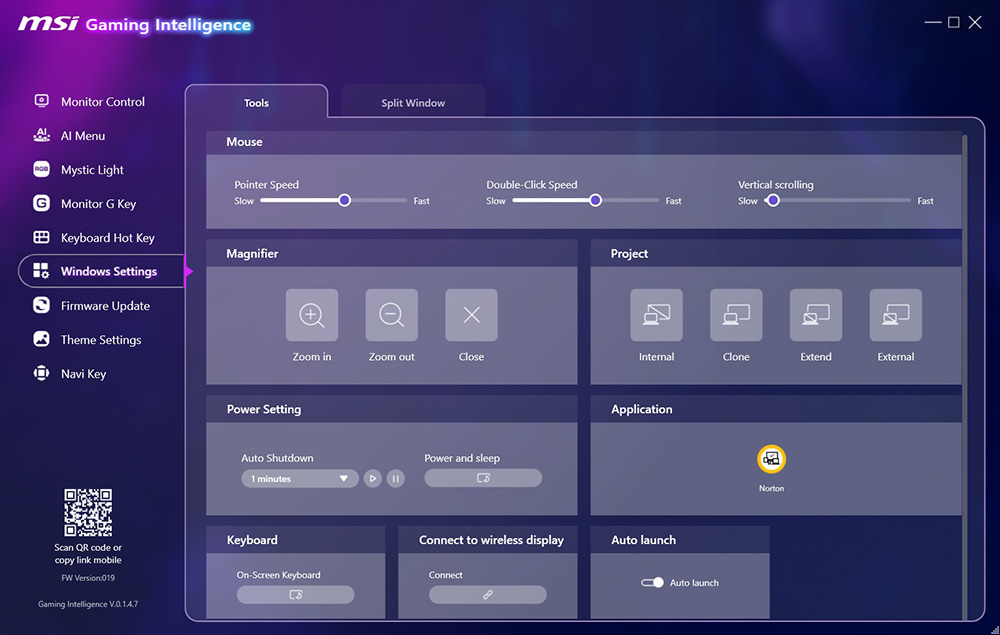
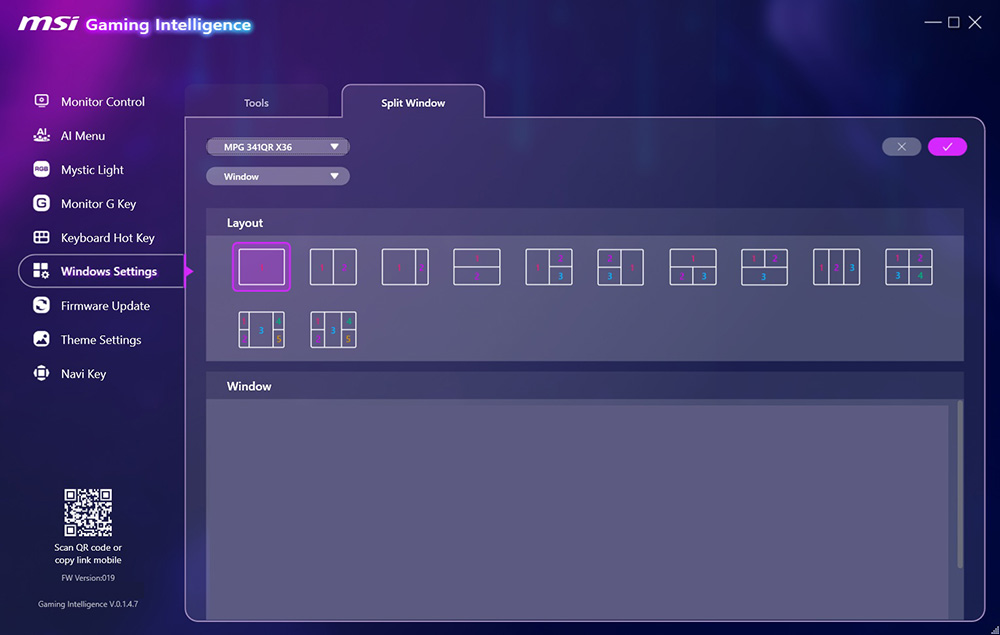
This section allows you to customise a few useful Windows settings like your mouse, power and keyboard settings. Via the ‘split window’ menu you can also define multi-tasking controls which is useful, especially on the larger monitors in the MSI range.
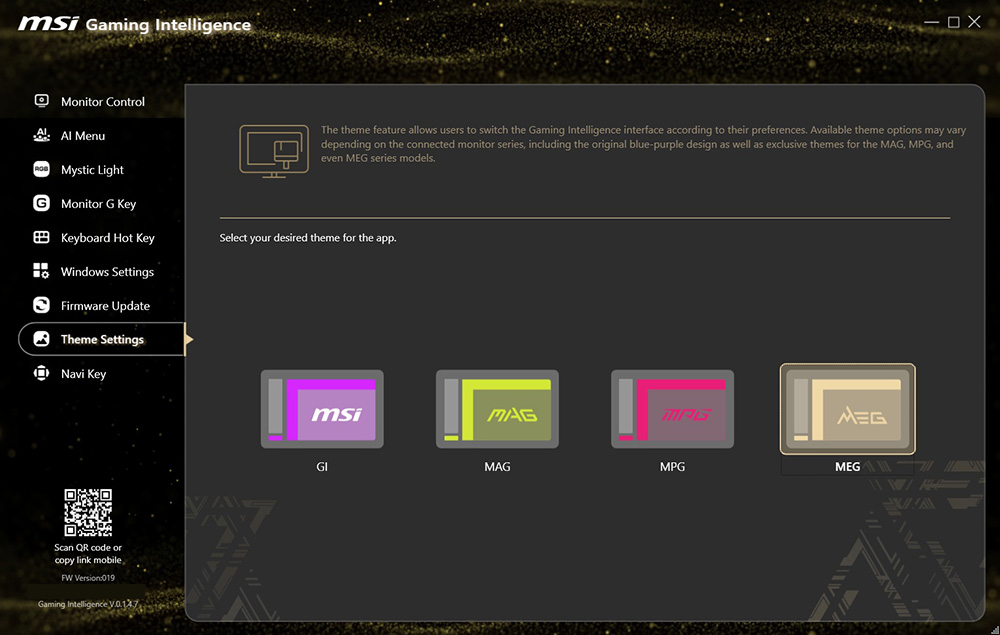
If you want to, you can control the theme and colour scheme of the software here to match your monitor range.
Our best settings guides for MSI monitors
If you own an MSI monitor then you might also want to check our our best settings guides which we have available for the monitors we’ve reviewed. These guides will take you through our recommended settings for SDR, HDR, OLED care and everything else. You can follow the guides and configure things quickly and easily via the G.I. software. You might also want to combine those with our calibrated ICC profile for further optimisation and accuracy.
We may earn a commission if you purchase from our affiliate links in this article- TFTCentral is a participant in the Amazon Services LLC Associates Programme, an affiliate advertising programme designed to provide a means for sites to earn advertising fees by advertising and linking to Amazon.com, Amazon.co.uk, Amazon.de, Amazon.ca and other Amazon stores worldwide. We also participate in a similar scheme for Overclockers.co.uk, Newegg, Bestbuy , B&H and some manufacturers.